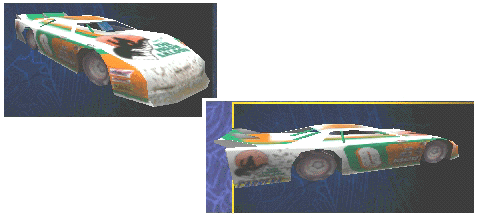
|
|
|

One thing I am sure any of you Sim racers has found
out is that customizing your car isn't as easy as a NASCAR® Racing
paint shop you may be used to. There is no "paint Shop" in DTR. For those
of you who haven't found it yet, DIRTtrackin.com
has something you need to get before any custom paint jobs or "skins" can
be used. You need to download and install "xfont.exe". This simply allows
you to not have the generic numbers that DTR uses planted right over all
that hard work you have done on your skins.
You also might want to print the Template
Legend , to make it easier on yourself.
Pick a template for the chassis you want to race, and download it from the Utilies Page.
Start your graphics program and lets start painting
that template you picked. I use Paint Shop Pro. Trial versions can be downloaded
from www.jasc.com. And if you want to buy the full version, for the price,
it is a simple program with a lot of easy to use features.
Keep an eye on the template diagram; it shows you
what areas of the body you are painting.
Fill in the body panels and add your paint scheme.
I "bucket fill" each panel with
the desired colors.
Open the Decal sheet and pick the decals you want
to use. Using the select tool,
pick an area slightly bigger than the decal you want to use.
Just copy and paste as a new image.
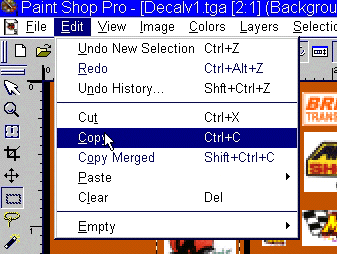
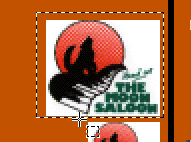
The easiest way to "trim" the deal is to use the
"magic wand tool" This
will select on the color in the picture you click on. Click in the brown
area around the decal. Now you want to "invert" the selection so you can
copy the decal onto you skin.
Once the selection is inverted, copy and paste onto the skin. You may need to rotate the decal for placement on the hood, or tilt the decal. From the menu pick Image and Rotate.
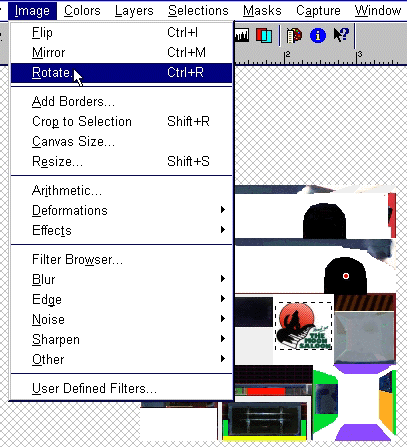
You will bring up a control box for your rotation options.
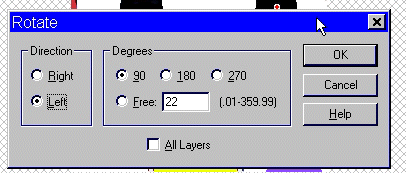
Rotate the image to the desired angle and click
OK.
I have noticed that when placing decals, numbers,
stripes, etc. you will want to stay away from the edges. If you do get
to close to the edge, things "fall off" the body and won't show in the
finished product.
The same steps for copying and pasting can be used
for the smaller decals and the tires and wheels.
Although the examples I have explained are based on Paint Shop Pro, most programs are similar and have the same functions and options. You can also add text and numbers with most graphics programs. The most important thing to remember as you painting, is SAVE, SAVE, SAVE. It can take hours of detailed work to get the desired look on your skin, but it only takes a second for the power to go out or good old Windows to lock up on you and lose it all. Save the file after each change that you make. And speaking of saving, your template started out as a JPG file. You must save it in the Textures folder as a 24 bit, uncompressed TGA and rename the file to texture.
